DIY FRIDAY: Back To School Edition
/
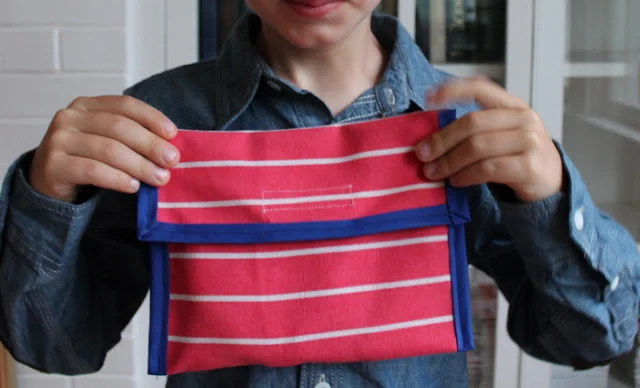
This week's DIY Friday is a reusable sandwich bag. I love to use these, because you can throw them in the wash when peanut butter and jelly escape the bread and it cuts down on plastic baggy waste. I'm a novice seamstress so this is a very beginner project, easy for anyone that has access to a sewing machine. Have a great weekend!
Tutorial after the jump...
DIY Sandwich Bag
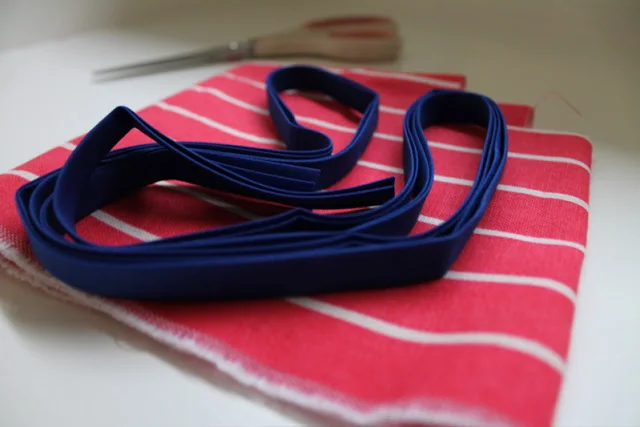
Gather your materials:
9x12 cut of decorator weight fabric, twill or denim
1" bias tape
Coordinating thread
2 1/2" strip of velcro
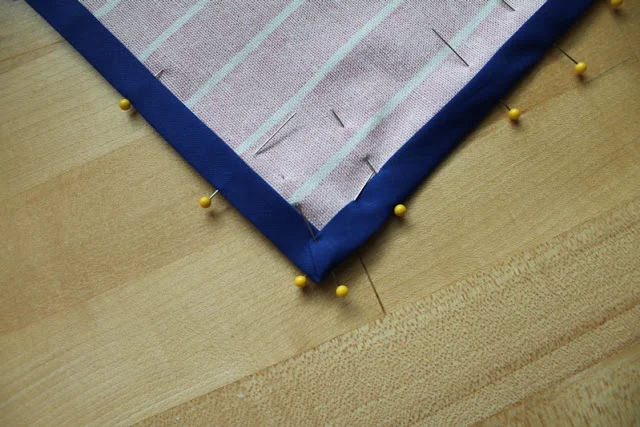
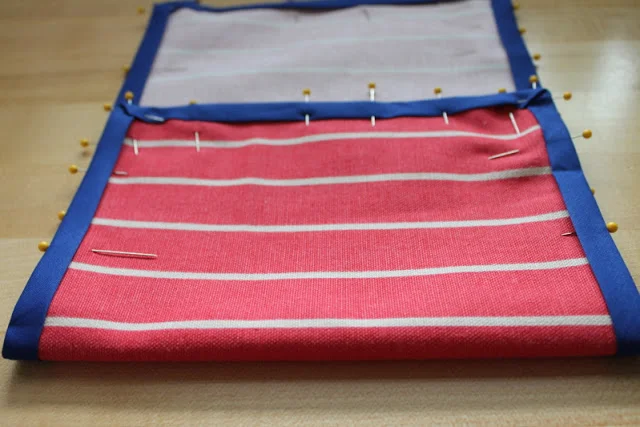
This is the easy way to use bias tape, not necessarily the "correct" way. Insert fabric inside the fold, pinning every few inches. At the corners fold tape into a triangle and down into an angle on either side of the fabric. Sew across the width of one side. This will be the top of the interior pocket.
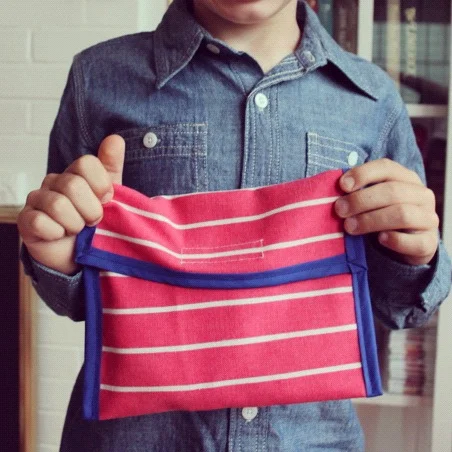
When sewn down, the pocket will be created by folding the fabric at 8", the top flap will be 4". Before sewing it down attach the interior velcro strip.
Place the velcro strip 2" down from the edge of the bias tape. Pin and sew around the perimeter to attach.
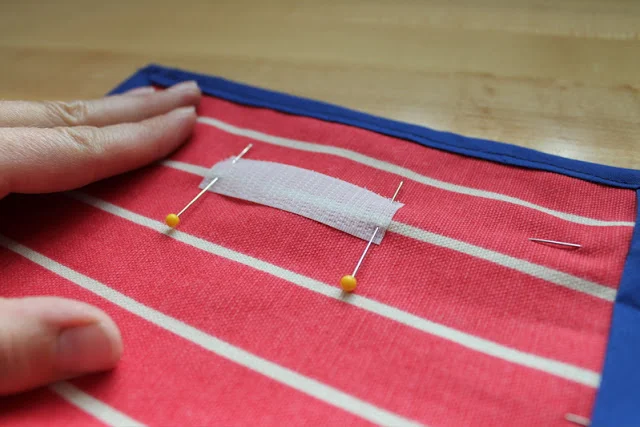
Sew the top velcro strip to the interior of what will be the top flap at about 1/2" down from the bias tape edge. Test the placement by pinning it first and matching it to the pocket velcro. Sew the bias tap on to the exterior of the fabric with the pocket pinned in place. All set to sandwich!