The Clay Magnets Project
/
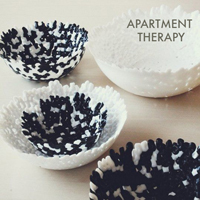
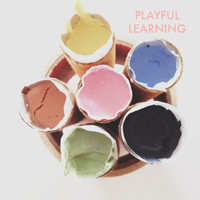
I know, I know, my presentation is a bit "Christmassy" when we are barely into November- there's a good reason. I designed this DIY for Apartment Therapy's Homemade Holiday Gift Idea Exchange, a clever series where bloggers share their ideas for making handmade holiday presents. I chose to share this project, because it's something that kids and grown-ups can work on together. Fancy magnets make a great all-purpose gift for teachers, co-workers, friends, and as stocking stuffers- they aren't something you buy for yourself, and they can really spruce up the fridge. Get creative! Use different shaped cookie cutters to personalize your magnets. I used white clay, because I love Jonathan Adler, but oven bake clay comes in a variety of colors. My project will be up on AT later today. Here's the link to the entire series: Homemade Holiday Gift Idea Exchange.
Here's how to make them:
Preheat oven to 275 degrees
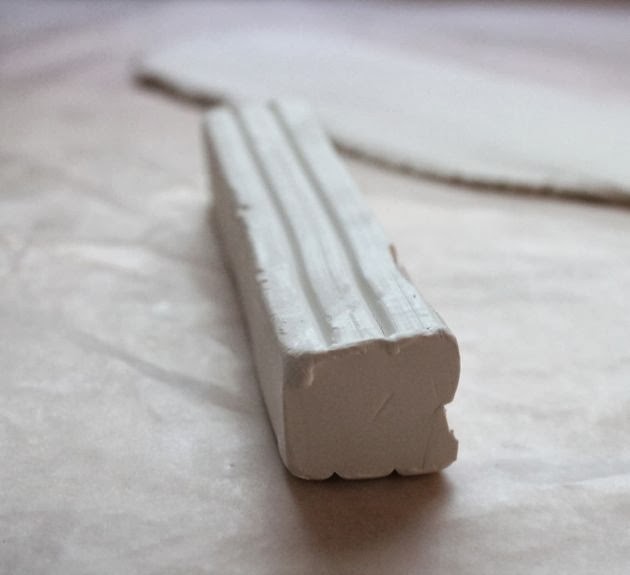
1. On a sheet of wax paper, roll out clay until it is smooth, and uniformly 1/4" thick

2. Cut the circles with the cookie cutter

3. Using the tip of handle of a wooden spoon or the back side of a clay cutting tool, make uniform divets about 1/8" deep into the clay, taking care not to get too close to the edges or it will warp the shape.

4. Bake on a wax paper-lined sheet pan for 15 minutes.
5. Allow to cool completely on a rack.
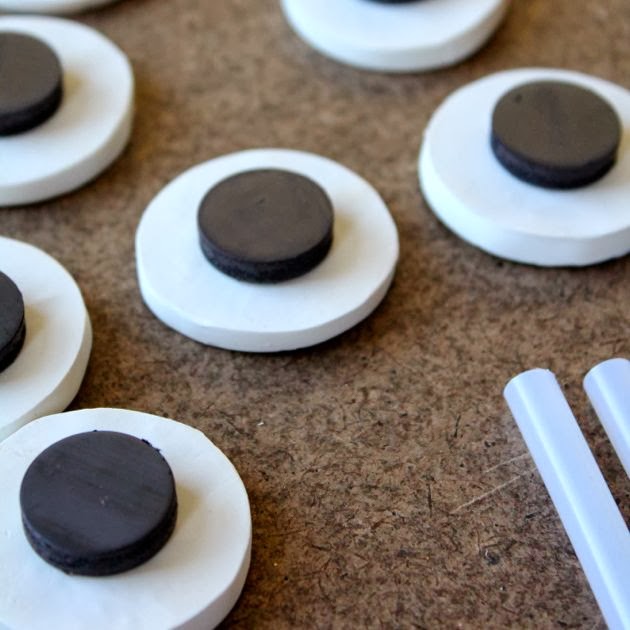
6. Apply magnets to the back side of the clay disk using a pea-size amount of hot glue. Press firmly and allow to set for one minute.
I used the top to a small gift box, hand-lined with glued down decorative paper to display the magnets for gifting. Simply apply a small amount of rubber cement to the magnet and press onto the paper. The magnets will stay put until pulled off, the rubber cement will stay on the paper.