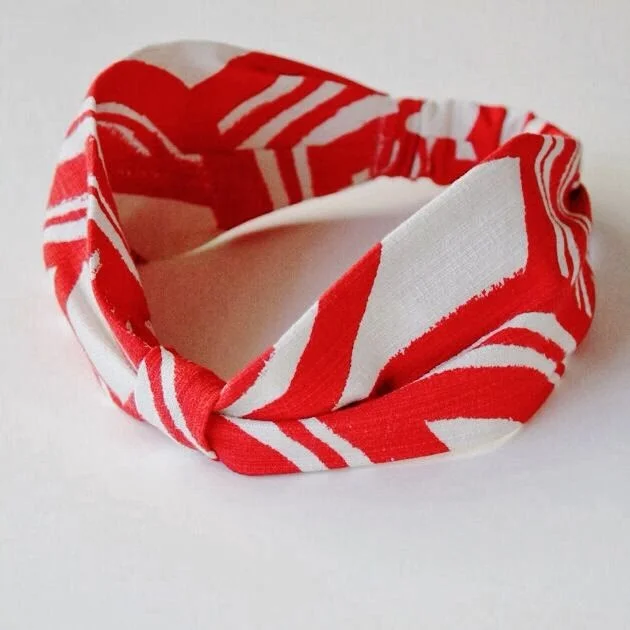
DIY Turban Headband
/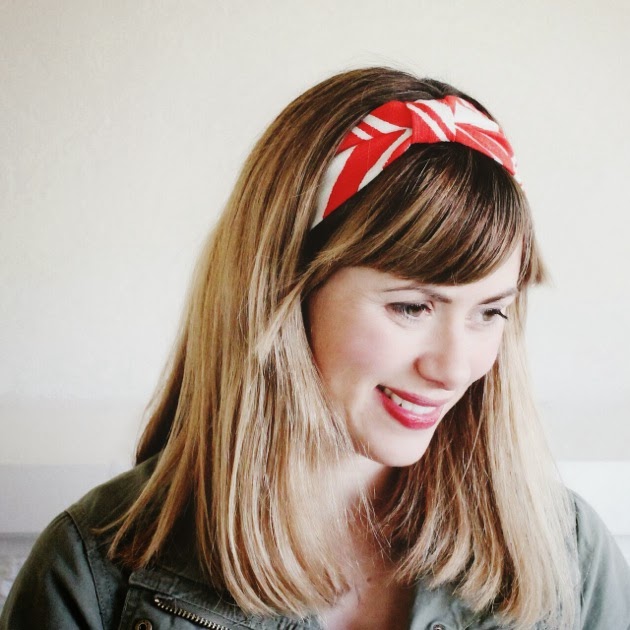
Headbands hurt my head. It's a lesson I have to learn over and over again, because I love the way they look. I have amassed a collection that are, for the most part, relegated to face washing or the first 15 minutes of an outfit. The only way I can get away with a headband is if it is loosely fitted, with an elastic band around the back; a style that is usually only found in the little girls section. After spotting something like this at Anthropologie, in a material that was a little too fancy for my taste, I set out to make my own, using the last of the scrap fabric from a long ago favorite dress. I can't wait to wear it this summer, hair down, up in a pony tail, or over the forehead, turban style. This tutorial is based on my own medium noggin size, just adjust the measurements to fit your own head properly.
To make one you'll need a sewing machine. I am a pretty terrible seamstress, but I can cut and sew a straight line. If you are at least this skill level, you are good to go. This project took me about 1 hour.
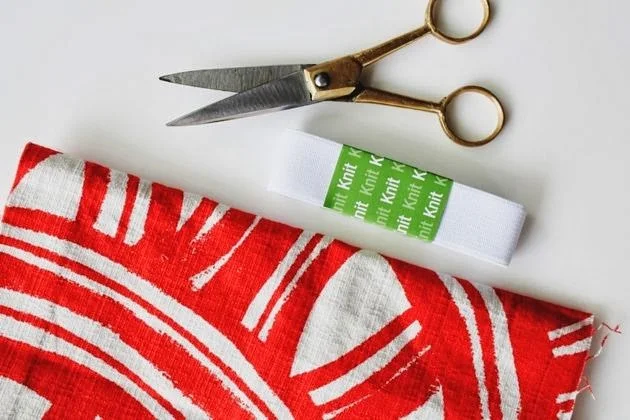
Fabric (I used medium weight linen) cut into the following sizes
-18"x8"
-6"x3"
-4"x3"
4" piece of knit elastic (1" wide)
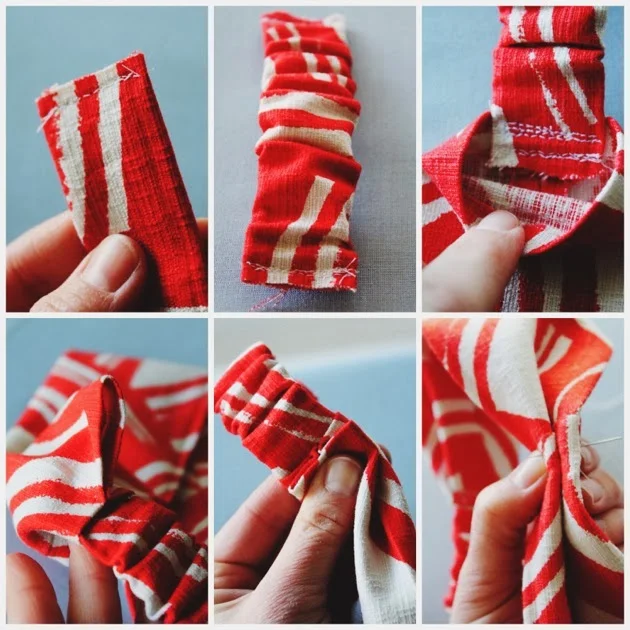
To get started, iron the largest piece of fabric in half, lengthwise. Using a straight stitch, sew along the outer edge of the fabric, with a standard 5/8" seam allowance. Center the sewn edge and iron the joined edge open, flat. Fold right side out and tuck the unfinished edges in about 1/4". Iron in place.
Next you will sew the elastic band. Using the exact same technique, sew a second tube out of the 6"x3" piece of fabric. Insert the 4" piece of elastic into the tube. Secure to the edge of one end using a zig-zag stitch (at least two rows). Scrunch the fabric until the other end of the elastic reaches the the edge of the second side. Stitch down in the same way.

Insert one end of the finished elastic tub into the back side of the larger tube. Center it on the back seam, and sew down with 2-3 zig-zag rows, just the width of the elastic.
The next step is to finish the ends. To to this, I pinched the fabric around the front of the elastic, securing with a few hand stitches. I then folded the fabric down, like an accordion, and secured either end with hand stitches. Lastly, I made a pleat in the center with the slack of the fabric, and secured that with additional hand stitches.
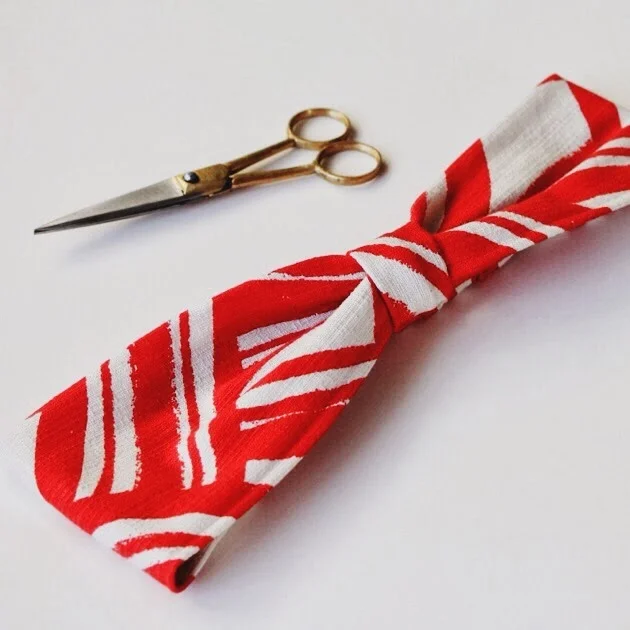
To finish it off, I sewed a third, smaller tube, and wrapped it around the center, tucking the unfinished ends under, before securing it with hand stitching to the back side of the headband. I pinched an even pleat to make it look more like a bow.

Tutorial photography: Heather Jennings
Photographs of Heather: Peter Maloney